HOW TO INSTALL WINDOWS LIVE MAIL IN COMPUTER
Leave a reply
One application for managing email is Windows Live Mail. This application is a component of several applications on the Windows Live. The steps to install Windows Live Mail is as follows:
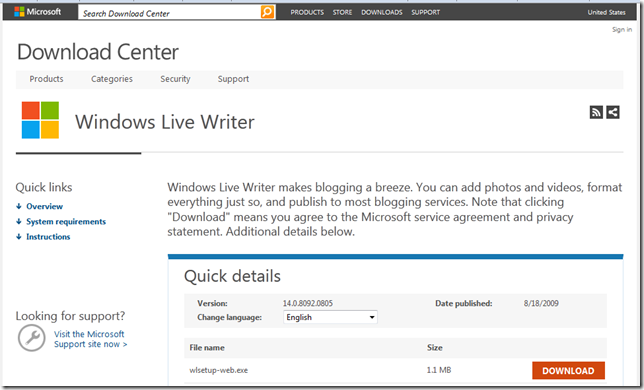
1. Download Windows Live installer file from the website at the address: http://www.microsoft.com/en-us/download/details.aspx?id=8621. You can also determine the choice of the language to be used by the Windows Live applications that you downloaded by selecting the drop down menu to Change Language option. Then wait until the download is complete.
2. After that, you simply go to the folder where Windows Live Writer installer file that you downloaded saved. Then double click on the file to start the installation process.
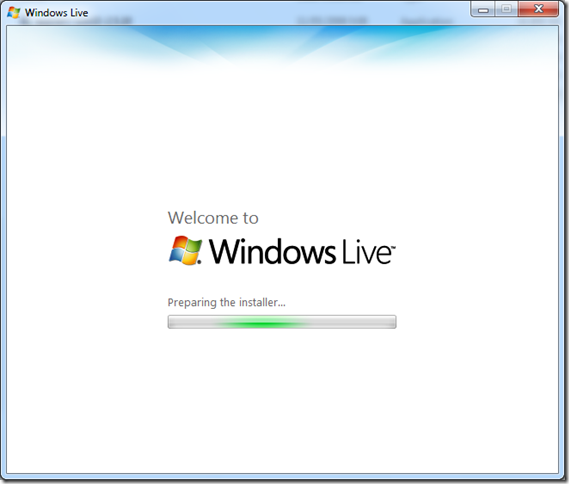
3. Window will appear that contains a progress bar installation process of Windows Live Writer. Wait a while until the process is completed.
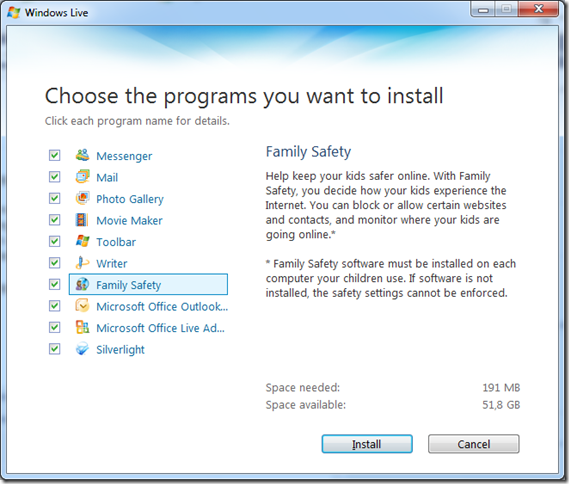
4. Then you will go to the Choose the programs you want to install. In this section you can determine what applications you install on your computer. To select it, make sure you uncheck the applications to be installed. This time wasting uncheck all the options except pilhan Mail, because you will install the application into your computer. Click the Install button to continue the installation process.
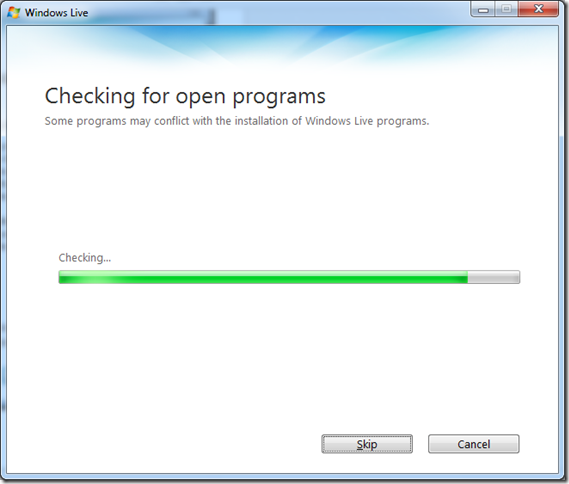
5. Then Windows Live will perform checks on your system. You please wait until the process is complete.
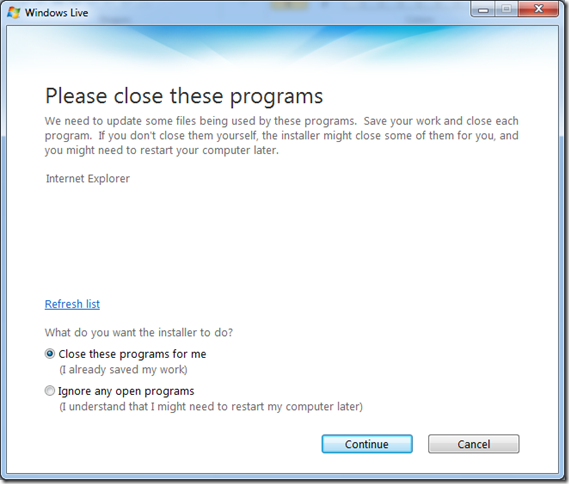
6. If during the installation process of Windows Live Mail, you\'re opening Internet Explorer, it will display a warning to close the program Internet Explorer that you are using. You can select these options Close programs for me so the application automatically closes Internet Explorer you are currently using. Or you can also choose the option Ignore any open programs and applications Windows Live Mail will not close Internet Explorer that you are using, and you can close it mannual. Click the Continue button to proceed.
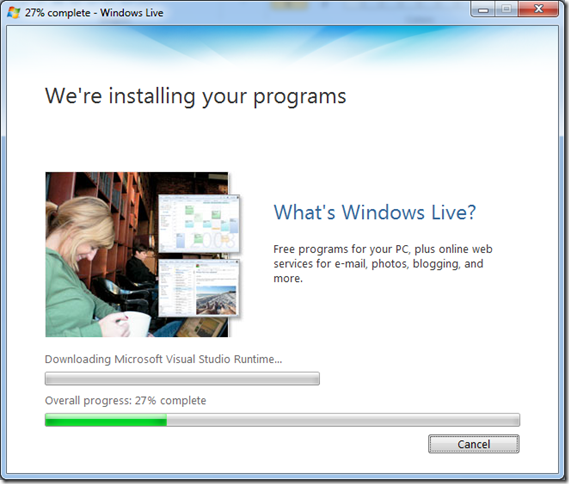
7. The next window will appear that contains a progress bar installation process of Windows Live Mail into your computer. Wait for the process to complete.
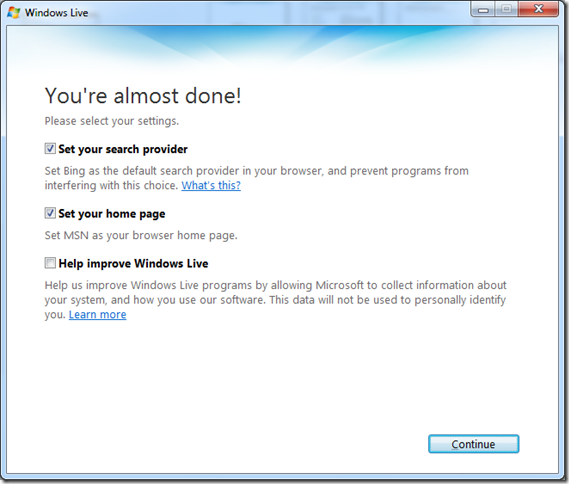
8. This will bring up a window containing several options. You can disable these options by removing the check mark next to each choice. Then click the Continue button to proceed.
