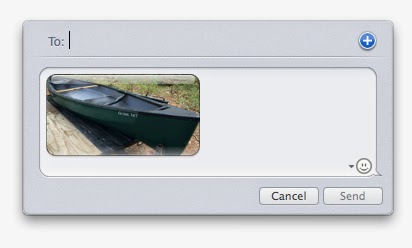
In contrast to post pictures on the iPhone using iMessage, iMessage post pictures on a Mac computer using a bit more difficult. This is because post pictures on iMessagae using a Mac computer is not supported icon "camera" like on the iPhone. Well .. if you are a Mac user, you can add a picture to iMessage in 2 ways:
1. Using the Finder
The first way you can do is to use the Finder. If you have not started writing the message, then you can select in the Finder and right click right on the image you choose to display the menus. Once open the menu and select "Share> Messages" to create a new message.
If you have already started writing the message, then follow the steps below:
- Place the Finder window position next to the message window to enable you to draw a picture of the current window to another window.
- Select an image in the Finder.
- Drag files in a text field in iMessage, then you will see the icon "+" after adding a picture.
- You can add text directly after adding a picture or use Option-Return to add a few lines between image and text.
2. Using the "Share" dithird-party apps
There are various applications available image for OS X, such as Preview and Acorn, which allows you to select an image. After you select the image and choose Share option from the main menu at the bar or contextual menu. By the time you add an image using a third-party app, then iMessage will display a dialog box where you can add text before you send it.
Not too hard, is not it? Good luck!